Applying a Passcode to a Zoom Meeting
Overview
Zoom meetings can require passcodes for an added layer of security. If you set a meeting passcode, you’ll also need to share this passcode, along with the meeting link (Join URL). Encourage your participants not to share the meeting passcode as Zoom will allow anyone with the passcode to join. This document will show you how to edit this passcode.
You may edit your passcode while creating a New Zoom Meeting or For an Existing Meeting
Applying a Passcode while Creating a New Zoom Meeting
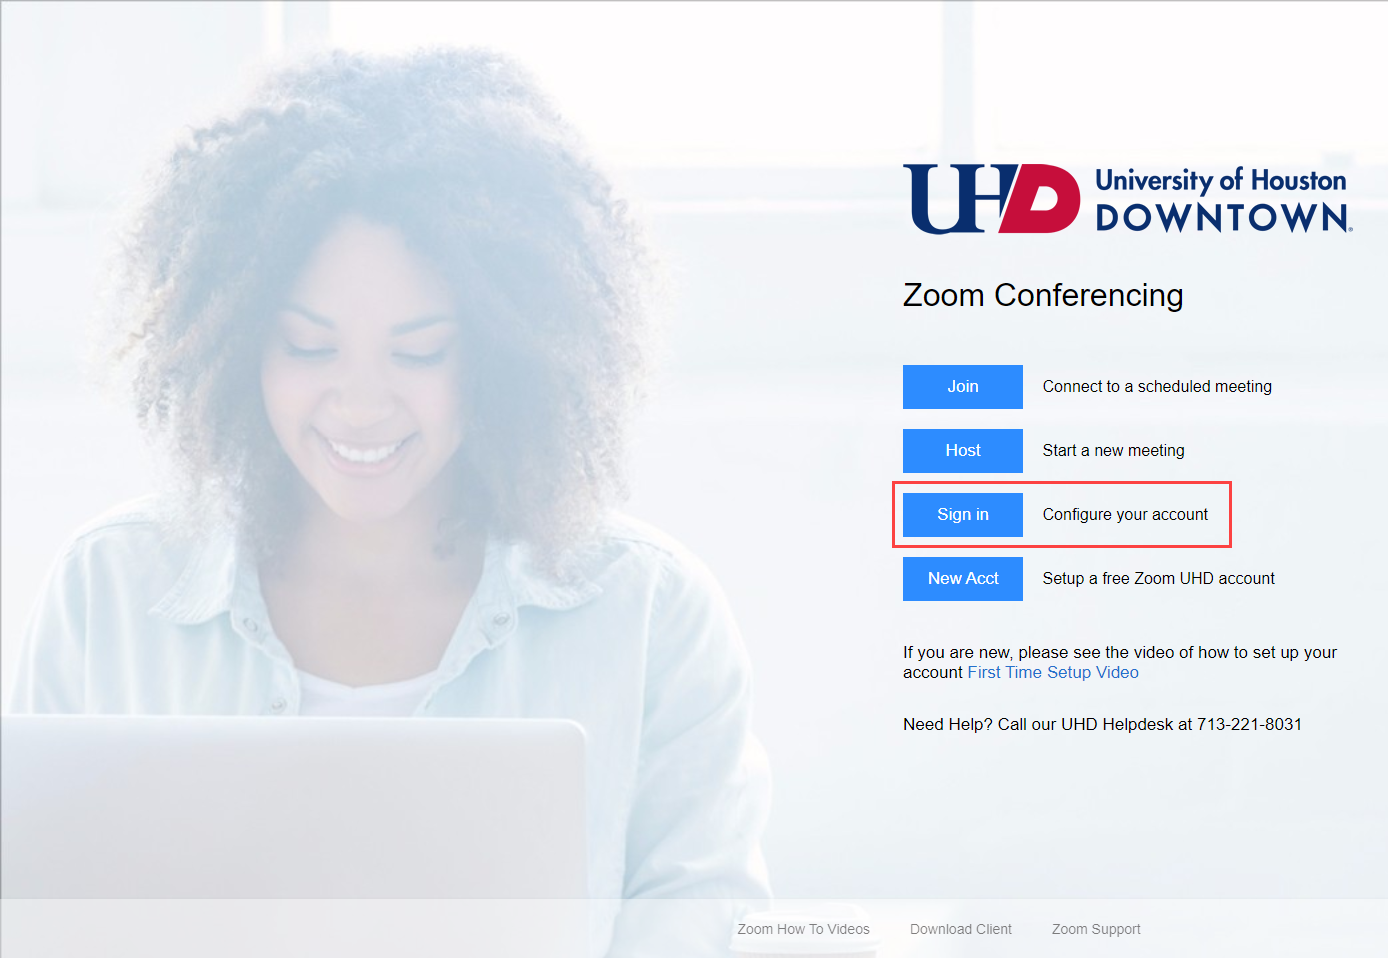
Sign in to the UHD Zoom web portal at uhd.zoom.us using your UHD username and password.

In the navigation menu, click Meetings and then Schedule A New Meeting.

Enter all of the meeting criteria for the new meeting such as the topic, time and date.
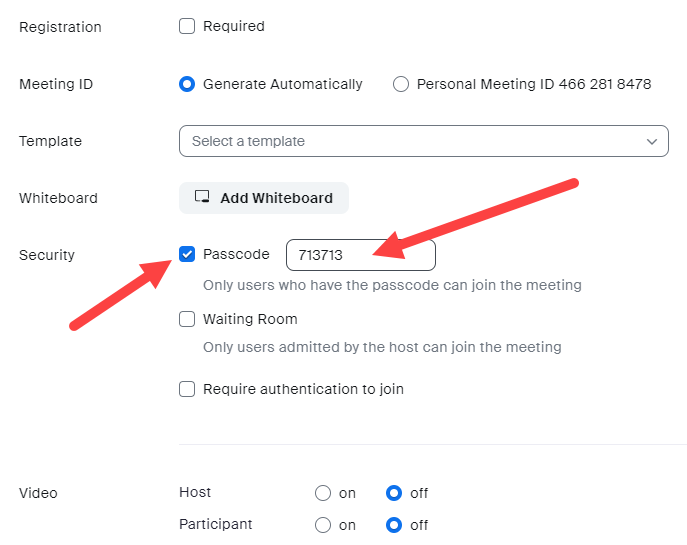
Under the Security section, select the Passcode box.

A six-character password will be generated, you may change this passcode at this time. You may also enable/disable a Waiting Room for this meeting.
Continue entering your information and then click Save.
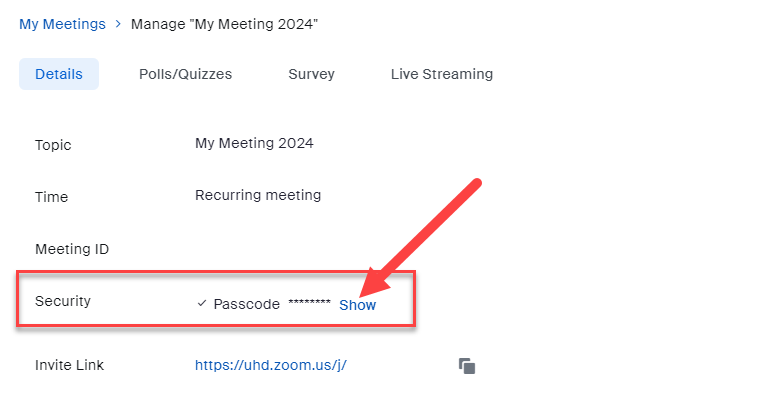
You will see the information for the newly created meeting. You may preview your password under Security but selecting Show.

You are now ready to share the Zoom meeting.
Editing a Passcode for an Existing Zoom Meeting
Note: If you change the passcode to an existing meeting, you will need to send NEW invitations
to your meeting!
Sign in to the UHD Zoom web portal at uhd.zoom.us using your UHD username and password.
In the navigation menu, click Meetings.
Click the topic of the meeting you would like to update the passcode for.

At the very bottom of this page, click Edit this Meeting.

In the Security section, edit the passcode. You may also enable/disable a Waiting Room for this meeting.

Click Save.
For additional support, email us at [email protected]
